Wednesday, August 30, 2017

Banner Piece for 3rd DT Project for Secret Garden Crafts

I'm back with another week sharing my 3rd Design Team Project for Secret Garden Crafts !! This week we had to either make an entire banner or a Pennant, I decided on a pennant. If I decide later to add on to it I will let you all know and I'll link this post to it. 

I began by using one of the pieces of chipboard banner that I purchased at Michaels's on sale. It's the Recollections brand and contains 9 pennants.  
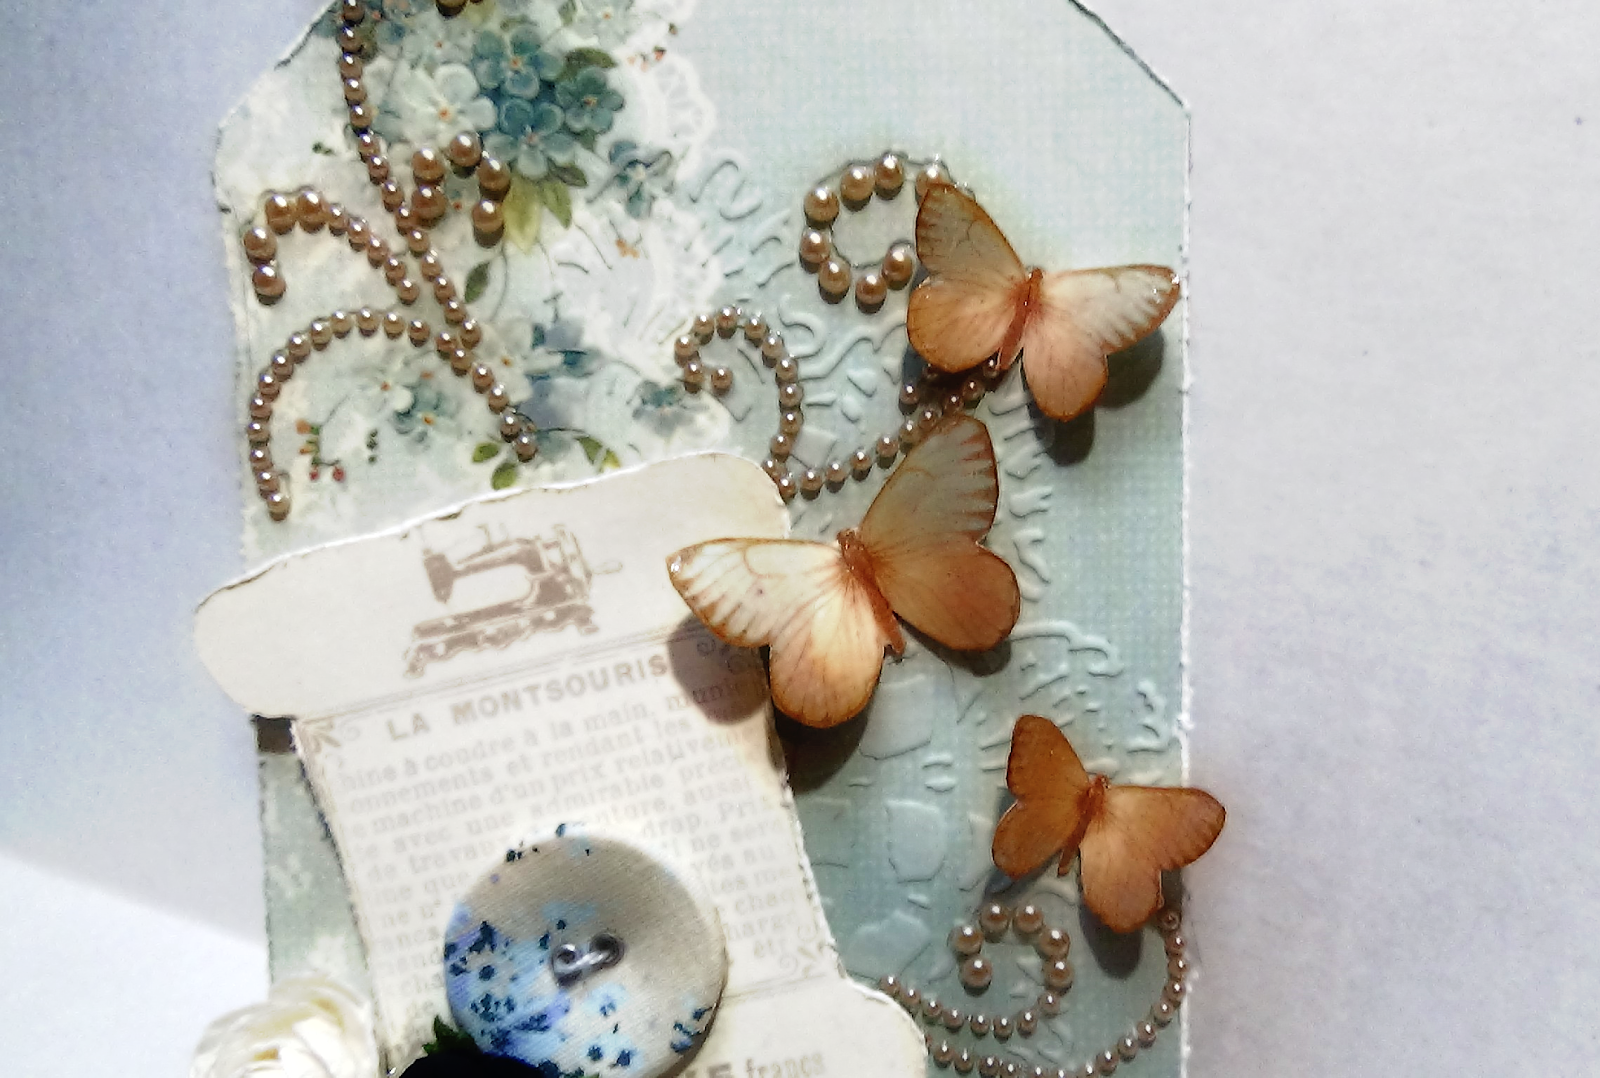
I chose to use the paper collection from Graphic 45 , Ladies Diary. It matched the flowers that I wanted to use from Secret Garden Crafts DT package. I love the color combination in this collection! So I traced the chipboard on to the paper then I also papered the back part as well. I then added some beautiful lace that I had been hoarding! I had purchased it when Lele had her online store Shabbylicious. I cut two pieces out and arranged and adhered them back to back. I then added one of the chipboard pieces that came in the collection. I adhered it right to the center of the pennant . 

I then began adding the flowers (below will be a list of the flowers you can find at Secret Garden Crafts). Some of the larger Peach/Orange Tea Roses are from my stash.  I use a lot of different peach colored, used some Gypsofila for fillers. Love this!! I then finished off by adding a tear drop bling piece & an olive colored piece of seam binding to hang it with.  I really like how this turned out!! I hope you all like it as much as I do! Thank you for checking out my post and please subscribe via email so you don't miss out of my upcoming projects! Don't forget to check out the online store and when you order $50 or more you get FREE SHIPPING, use my coupon code until August 31st and save an additional 10%!!! Thank you again!! See you soon!! XOXO, Jeanne
Products used from Secret Garden Crafts:  


Wednesday, August 23, 2017

Layered Garden Card/ 2nd DT Project for Secret Garden Crafts

Hi again crafty friends!! I first would like to send a huge "Thank You" to all the wonderful people that viewed my blog last week for my 1st project for Secret Garden Crafts! Also "Thank You" to Archana and the rest of the Design team members!! 

I'm excited to share with you all every week different creations that I hope you get inspired by to try if you haven't already, especially adding the beautiful flowers from WOC that Archana carries in her online store! 
This card is a layered card. It's a 6 X 5/12 and as I've mentioned before, I like to cut my base then set it aside then add it at last when I've finished with everything I need to do on it incase I've got distressing to do , spraying, etc. Just so it stays clean. 


I then picked out my paper, this paper is from the Jen Hadfield Simple Life collection. I had earlier in March made a mini album using this same paper. I really like the color combination. I chose these colors because I wanted to use the gorgeous Prima flowers that Archana had sent in my DT package. I had also received a matching spray from a destash haul I had recently purchased so I knew they would look well together. 
I began by distressing the papers, adding more distress and tearing in some areas on the second piece. I then picked out some cut outs from the collection and some of the matching ephemera . I propped up the cut out card and the ephemera on some pop dots. Lastly I made my flower bouquet out of the Prima Flower Bundle (Yellow), added the yellow matching sprays from my stash, wrapped the flower bundle in some ivory seam binding. I also added some white filler flowers and others from my stash, they will be listed below. Then just adhered it using Fabri Tac wet adhesive.
Overall this card was very simple to make and I hope that you like what I've made. 
Don't forget to check out the rest of the other designers blogs as well as YouTube videos. 

Product used from Secret Garden Craft


Here are also the links to the online store and Blog

 When placing an order for $50 or over you received FREE SHIPPING!  Also use my coupon code for an additional 10% off you order: 
Coupon code: JR10A Expires by August 31st 
Thank you for visiting my blogpost today and don't forget to check out the rest of our blogs every Wed.  
Mark your calenders!! xoxo, Jeanne

Sunday, August 20, 2017

1st Design Team Project for Ideas2Come on Etsy

Hello crafty friends! I'm running a little late on this project, I had my grandson and daughter visiting, my grandson has so much energy and I really thought that I would be able to do all of my editing and blogging once I sat to relax, It never happened , he has worn me out! I forgot how hyper 4 year old boys are! 

Anyhow this project I had a great time making! I have always enjoyed altering boxes. This one I had received from a place where I had purchased a mixed media kit, and knew that one day I would repurpose this box because it's a good size and its got a magnetic closure! 


I began by painting it using DecoArt Americana Acrylic Paint in Buttermilk color. It's pretty close to Folk Art Vintage White. I only painted around the edges as I would be putting some paper on it. I picked out the gorgeous paper from Graphic 45 Portrait of a Lady. I measured all sides of the box and cut out each section but cut it about 1/16th of an inch shorter. I then distressed all of the edges using my Prima distress tool , I used score tape to adhered the papers to the box. On the inside I decoupaged the Coffee Dyed Music Paper that came in my GDT pkg. I covered the inside bottom and lid and it fit perfectly. On the two sides I adhered the other two design papers that I had set aside. 

After it had all dried, I made a small pocket for the lid using some wide lace from my stash on top of a piece of muslin fabric. Then added some thin lace that had small pearls in it to the bottom of the pocket. 


After I finished with the inside I began embellishing the outer part. I began with the lid, I used one of the Antique Bronze Box Closures from the Ideas2come Etsy shop. I absolutely love these closures!! I adhered it using E6000 cuz I wanted to make sure that it was sturdy even though there was a magnetic closure on the box, it wasn't closing as sturdy because of the layers of papers I had adhered to it.  I finished it off by adhering some bling strands from Prima that I had left over from a mini album I had made. This looked perfect and since I hadn't used any laces on the outside I thought it looked great!!

I then moved on to the top of the box where I started by using one of the larger journaling tags of the paper collection. I wanted that to be my focal point. I propped it up with some pop dots. I then used alot of different flowers including Prima flowers, flowers from Secret Garden Crafts and tucked one of the Foam Flowers from Ideas2Come Etsy. I then adhered some vintage bling trim around the lid. Adding some thinner rhinestone bling trim along the edge of the propped up image. Lastly I applied some stickles to some of the flowers and on the flowers on the image. Around the frame I used some DecoArt Liquid Glass so the frame would look more realistic!!


I hope that you got some sort of inspiration with my project. I hope that you will take a look at all of the great products that Heather carries. She has just oped up her business so check out her small business and show her your support, she's got great deals!! 
Thank you so much for checking out my blog post and I hope you will subscribe to my social media sites and I hope you will follow me here on my blog so you won't miss more fun projects coming up!! XOXO, Jeanne

Friday, August 18, 2017

Shabby Chic card & tag

Hi there crafty friends!! Today I'm back with a couple of projects that I'm very excited to share! Not only are they my 2nd Design Team Projects for Want2Scrap but I actually tried a little mixed media. Nothing too crazy but its a start and I think I'm really gonna enjoy incorporating it into some of my project! Here is my 1st one. 

I started out with a chipboard tag from Prima, I picked out the amazingly beautiful paper from Pion Designs that I had purchase over at a great online store Craftycity, this collection is called Paris Flea Market. I adhered the paper onto the tag then cut the paper around the tag, then using my Prima distress tool, I ran it along all the edges so that the paper somewhat blended with the tag. I then used some DecoArt Modeling Paste to lightly stencil half of a stencil from Prima. 


I applied some lace at the bottom of the tag that I had in my lace stash, then added some tear drop pearl trim from Ideas2Come.  Then added some bling from Want2Scrap, I added a spool cut out from the paper collection, added a Tilda button to the spool, fussy cut some butterflies from the same paper, used some DecoArt Liquid Glass on them, made them look dimensional. I then I just added the flowers and added a matching ribbon


I hope that you all like what I came up with on this tag. Now I will share my card. 

This card I think is one of my favorites that I made. I cut a piece of white card stock to 5 1/2 X 6, I scored it in half then set it aside, I add my piece later onto the cardstock. I first picked out my design paper, I've been hoarding this paper, rarely use it, I will def. be looking to buy another of these paper pads. It's the beautiful paper from First Edition Bella Rose 8x8 paper pad. 

 I then picked out a couple of the papers I wanted to use, I cut the 1st one just 1/8 smaller in width and length than the white cardstock base. I then cut the other paper just a tad smaller. I also distressed the paper, made some random tearing on it, I wanted to be able to add some lace or cheesecloth in those areas. I ended up just cutting small pieces of tirms and adding them there. I added a  iridecent flatback pearl on each tip of the lace. I then added a chipboard sentiment from Want2Scrap. I added some beautiful Prima flowers/leaves, some pearls to accent the flower cluster. I lastly used some DecoArt white shimmer mist that I just received in my helping artist program. 
Thank you for checking out my blog post and please feel free to see the rest of my creations! xoxo, Jeanne 

Wednesday, August 16, 2017

1st Design Team Project for Secret Garden Crafts

Hello crafty friends!! Today I am super excited to share with you my 1st Design Team Project for Secret Garden Crafts . This is a new online store that Archana Joshi owns. She still has her facebook groups available where you can order, she has just combined Secret Garden Crafts with  CraftyCity . But I am excited to be a part of her 1st Design Team for this new shop where some beautiful flowers are sold, everything from Wild Orchid Craft, Prima, just to name a couple. All of our projects are pretty similar as far as themes go, this 1st week our projects are tags. I had a great time with this tag because I had just received a destash purchase from a friend and she had included some tags from Heidi Swapp, a variety of tags, different shapes, etc. This is mine, I hope that you like it!! 
I began by tracing one of the Heidi swap tags onto chipboard just so it would be sturdy. Plus I can reuse those tags for many more projects to come. I then chose the beautiful papers I had gotten in my destash purchase as well, so this package came just in time for this project. One of the papers was the "Order" paper sheet Item #0148. I adhered the paper directly to the tag using Double sided score tape. I then fussy cut the tag out. After I did this I then used my Prima distress tool to somewhat blend in the paper and the tag and this distressed the edges a little as well. 
After I was finished with that I applied some DecoArt Dimensional Paste to stencil the background. I had already picked out my embellishments that I planned on using. I had a Prima Shabby Chic Fireplace Resin piece in my stash I adhered a Tim Holtz Ornate frame that I dabbed some DecoArt Gesso onto. I used E6000 to adhere the Ornate frame to the Fireplace as well as the entire piece to the tag. I then added a small piece of beautiful Venice white lace along the bottom of the fireplace.


I then added some pink sprays I had in my stash as well as a clear acrylic flower and clear acrylic sprays. I then added some of the most beautiful Wild Orchid Craft flowers that I received in my DT package. I finished it off by adding some Prima Crystals from the Heaven Sent Collection. They went very well with the color combination of this tag. 
I hope that you will take a look at this wonderful online store Secret Garden Crafts . I will list below the rest of the social media sites for Secret Garden Crafts, as well as a list of the flowers I used for this project. Thank you for checking out my blog and I hope you are inspired to make your own style of tag and you will use some of these wonderful flowers. 


You can find the rest of the links to the other Designers on the Secret Garden Crafts Blog! I hope you will go subscribe, follow, etc these other talented ladies!! XOXO, JEANNE

Wednesday, August 9, 2017

Part 2 Sewing Machine Kit from MsGardengrove

I'm back with a beautiful project that I completed ! On a previous post I shared with you the kit that I received from Annie (MsGardengrove). I had won the monthly challenge back in May, so whoever wins these challenges gets to be a Guest Designer for MsGardengrove on Etsy. She sent me what was to be the kit for the month of July so I was very excited to create this! I hope that you like it as well!


Victorian Handbag

Hello crafty friends! I'm excited to be sharing my 1st Design Team Project with you all! I was inspired to create this mini album because as soon as I received it in my DT package, I knew I wanted to use this beautiful paper collection/embellishments from Prima Time Traveler. It goes very well with this Victorian Purse that was designed by Mai Larsen Designs for Want2Scrap. 
I began by painting about 1/2 inch along the edges using Folk Art Vintage White Acrylic Paint. I do this with most of the chipboard mini albums I make. I then left out one pay to use to trace out the pages I selected from my paper collection. After tracing and cutting the papers, I distressed the edges using my Prima Distress tool as well as my smaller Tim Holtz distress toll. After this I inked the edges using Tim Holtz Distress Ink in Antique Linen. 


I then used Fabri Tac liquid adhesive, you can use whatever kind you would like. There is double sided tape, use an ATG gun, Aleenes Tacky Glue or whatever else kind you prefer. I personally don't recommend using a hot glue gun to adhere paper to chipboard. But it all comes down to personal preference. After I adhered all the paper onto the pages, even more fun begins! I started embellishing my pages using alot of the Want2Scrap products. I used some of the beautiful Le creme colored pearls on the back page. I wanted the back page to resemble a real Victorian purse so I added the pearls on top of the black mesh bling I had in my stash.


I describe in better detail the process that I did to complete this amazing mini album in my project share video that I have posted on my YouTube Channel and on the Want2Scrap YouTube channel. I hope that you will purchase and try one of these albums so that you can have fun creating this the way I enjoyed it! It makes a great gift for someone to store their memories! Thank you for checking out my post. I can't wait to share the other creations I have planned during my time as part of the Want2Scrap Design Team! xoxo, Jeanne