Sunday, August 5, 2018

Shabby Chic Loaded Envelope Stack


Hi again! I'm almost finished catching up. Wheewww, I always say I am not gonna fall behind and it happens. But in all honesty I feel so much more comfortable writing in this blog rather than try to make a video for YouTube. Being on video is not in the cards for me. I can express myself more by writing. 
Anyhow on to this project. This was made for a swap over at the Facebook Group Gold Pro Loaded Envelope. Its a Shabby Chic Envelope Stack. 


For this one I made it using the Prima Lavender Collection. This was the 1st time using this paper and i love it! I made each envelope using my Martha Stewart Score Board. I added cardboard on the bottom ones so that they had depth, then I distressed the edges then as I was adhering them together I added lace and cheese cloth in between some of the layers. For the top envelope I left it without the cardboard was I added die cuts, ephemera , and much more so that my swap partner can find something special inside it. 


I then added the embellishments, flowers on the front. I used an image for the top from one of the packages off of 7Gypsies Architexture Rub On Packs. They are beautiful images. This lady image looks amazing!! Then I added some White Nuvo drops along the edges of the opening of the envelope. I then set the stack on some metal claw feet. This project will look great on top of my swap partners dresser, nightstand, where ever she wants it to be it is sure to standout. Make sure u check out my next post to see another similar one I made for another partner for the same swap. Thanks so checking this one out!! Hopefully ill get a chance to do a tutorial on my Snapguide! 
  
XOXO,


Monday, July 23, 2018

Easter Fabric Album

Here I am excited to share this project with you! I've made this for my granddaughter who will arrive in June! I hope she loves it when she grows up to be able to comprehend what it is and cherishes it for years to come! I hope for now that you will like it too!! 


ENTIRE ALBUM ON VIDEO BELOW
I began making this from a canvas pattern that I had received last year from an Easter kit from one of the Facebook groups I was in. I am glad I saved it! I was able to trace that pattern onto another piece of canvas fabric that I had in my stash. I am kinda shaky and don't cut too straight so my egg might not be too round! I then had some pieces of fabric from another kit I had purchased from a group on Facebook. I had some left over from a previous project and thought the colors where perfect for this project! 


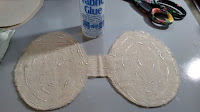
I used Helmar Fabric Glue for this project, this was perfect to use this adhesive!! I adhered my cut out canvas' to my fabric pieces. Then just cut the extra pieces off. I adhered the cut out canvas' to the fabric pieces then just trimmed off the excess pieces off.


Once I was finished with adhering the fabric onto the canvas pages of my album, I began adding a variety of laces. I didn't take photos of this because I knew if you wanted to make this similar project you would add whatever laces you would like for your project , plus it would have taken me more time to finish up my project. I also selected some pearl strands in colors that would look great with the laces. I had a variety of flowers, and just a variety of embellishments I thought would go with my Easter colors!


I had an adorable fabric patch that I had been saving from the kit I mentioned earlier. I also had some other white bunnies I wanted to add to this album. I also added pockets where I would add some paper tags I had from a Maggie Holmes ephemera pack from my stash. 
Everything including the flowers were adhered using the Helmar Fabric Glue. I did however reinforce everything with a dab of hot glue since it would take a little bit for the fabric glue to dry and I wanted to keep working on it without waiting too long for every page to dry completely. One the flat back pearls that I added on the white bunnies and on a couple of other areas on this album, I used the Helmar Gemstone Glue . 


This project was so much fun to make and I love using the Helmar Fabric Glue ! I easily could of also used the Helmar 450 Quick Dry Glue for this project as well but since I don't use the fabric glue too often on my projects I looked forward to using it for this one as I am more of a paper crafter but do enjoy creating with something other than paper every so often! I am a crafter that loves creating with different mediums and having all of these different adhesives from Helmar makes it that much easier!! I hope that you enjoyed this short photo tutorial and maybe you can try it sometime the next time you make something using fabric, laces, that you have been hoarding in that vault! Once again I hope you have a wonderful Easter!!


Sunday, June 17, 2018

My Big News

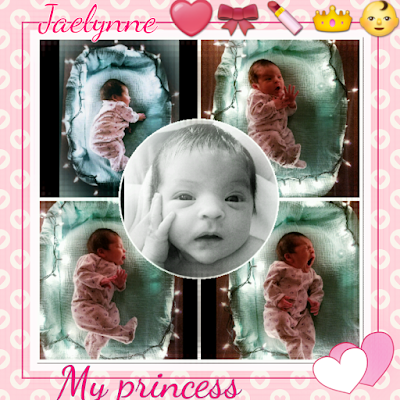
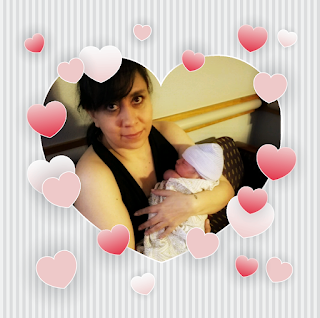
Hi crafty friends!! I'm back with some great news!! I'm a little late in posting but I wanted to let everyone know that my daughter successfully gave birth to my granddaughter on May 24th . Her name is Jaelynne Charlene...All that I can say is that I am in love with her. I have also been enjoying my grandson Aaron Jr. , Jaelynne's big brother!! He absolutely loves her so very much, I know he will protect and love her the rest of his life!! 


I feel very blessed!! I really love my family, my children and grandchildren are my world. 

So as far as my crafting I have resumed my projects, swaps, DT projects. I had taken a short break from Canvas Corp Brands and I am now set to create!! 
Thank u all for checking this blog post today!! I hope you enjoy my photos and more on my picture video I posted on YT. I have posted it here as well. ~Hugs~


P.S, I am still posting projects I've created but had taken a break from social media to help my daughter prepare for this amazing arrival!!


Unicorn and Mermaid Rolodex Cards

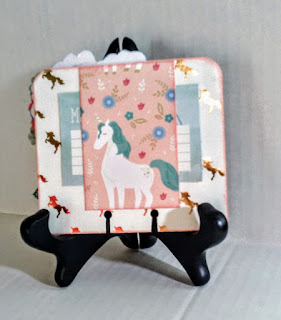
I'm back this time with some Rolodex Cards that I made for my Creative Team Project for Helmar and I also made these for a swap over at the Facebook Group Rolodex Addiction.  If you would like to see a detailed tutorial on the Helmar Blog


Shadowbox Book Card

Hi everyone! This project was something I had been wanting to try for a while. While trying to keep with the wedding theme using the amazingly beautiful papers from Heartfelt Creations Classic Wedding that I was from my DT pkg from Debby @ DebbysSpecialTouch on Etsy. 
This project was fun and easy to create. You definitely came make one yourself for a special card for any occasion. 


 Here is a short picture video of the steps I took to create this as well as a link to my Snapguide with all supplies and measurements on this Step by Step picture tutorial. 


I hope that you will subscribe my YouTube and follow me on Snapguide !! Thank u for checking out my post. 


Thursday, May 10, 2018

Shabby Chic & Vintage Rolodex Cards

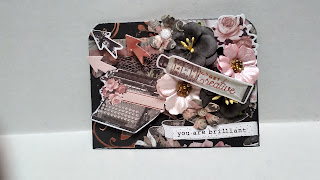
Here is another one of my projects that I created. These are another craze that I've seen happening in the crafty community. Rolodex/Memory Dex cards!! Here are some cards I made using a variety of papers from Maja Designs, Prima, and Graphic 45. I absolutely love how they turned out. I also followed a tutorial from YouTube on how to make the base because I don't have the punch nor the die for it. Its a pretty easy tutorial to follow. Here is the link: Rolodex Card Tutorial from Lolly Palooza