Tuesday, July 18, 2017

Vintage Keepsake Book Box & Tag Mini Album

Whhewwww! I'm finally getting there! Almost caught up! I'm so excited to share this project with you all!! This is another GDT project for Shabby Papers Hub, Craftycity & Secret Garden. I had purchsed a couple of paper mache book boxes from Michaels craft store. I originally had thought of making a book stack but then changed my mind . I got the idea to make a tag mini album to go on the inside. 

I first went over the edges with gesso, I picked out the paper that Archana sent me. Its a beautiful vintage paper collection. I measured and then ahered the paper to the box using FabriTac . I distressed the edges using Tim Holtz Vintage Photo Ink. I also stamped randomly using a brick wall stamp from Prima Marketing. 


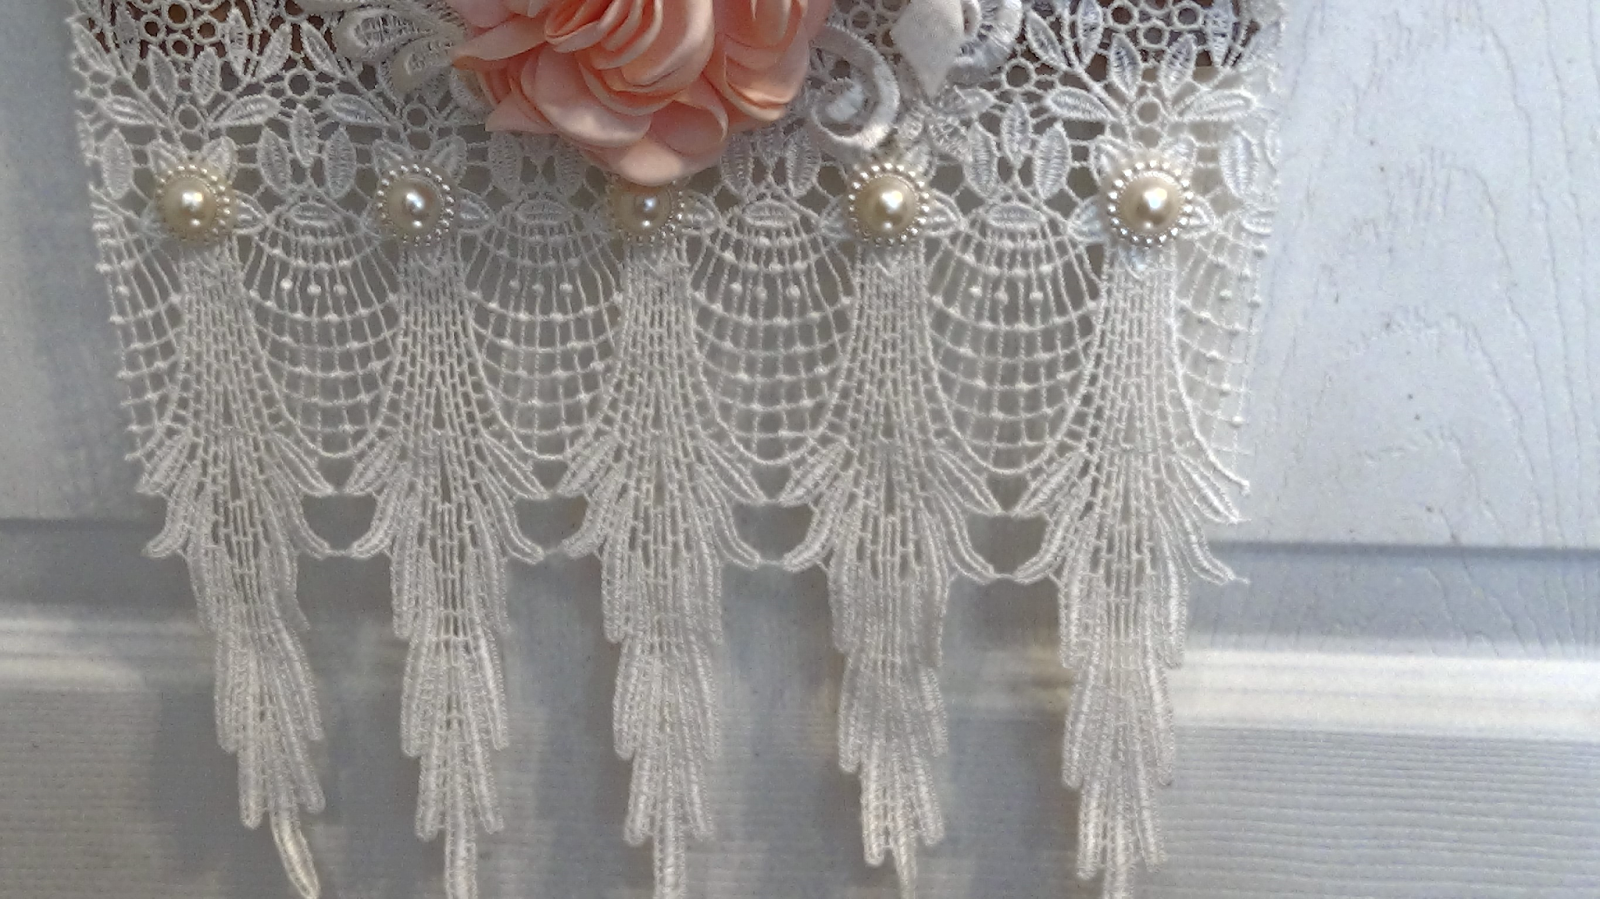
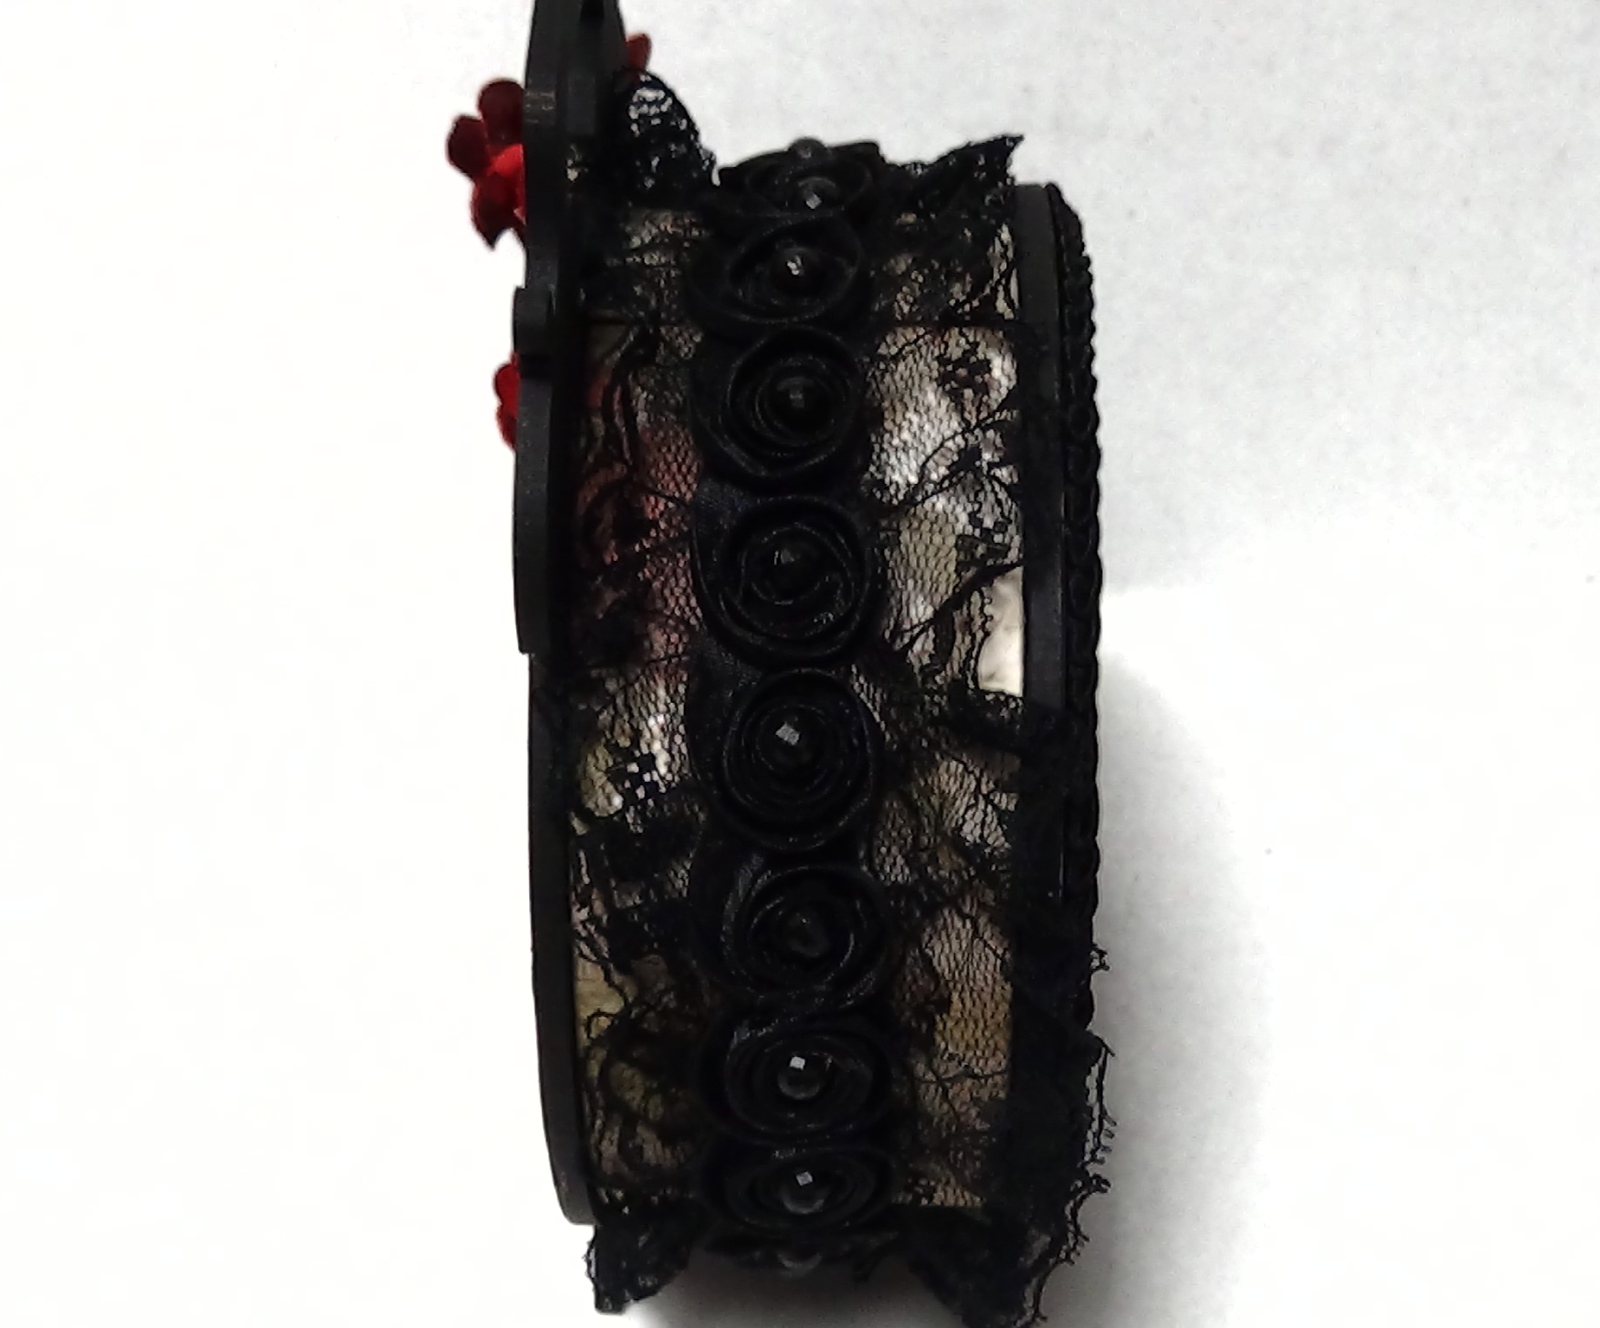
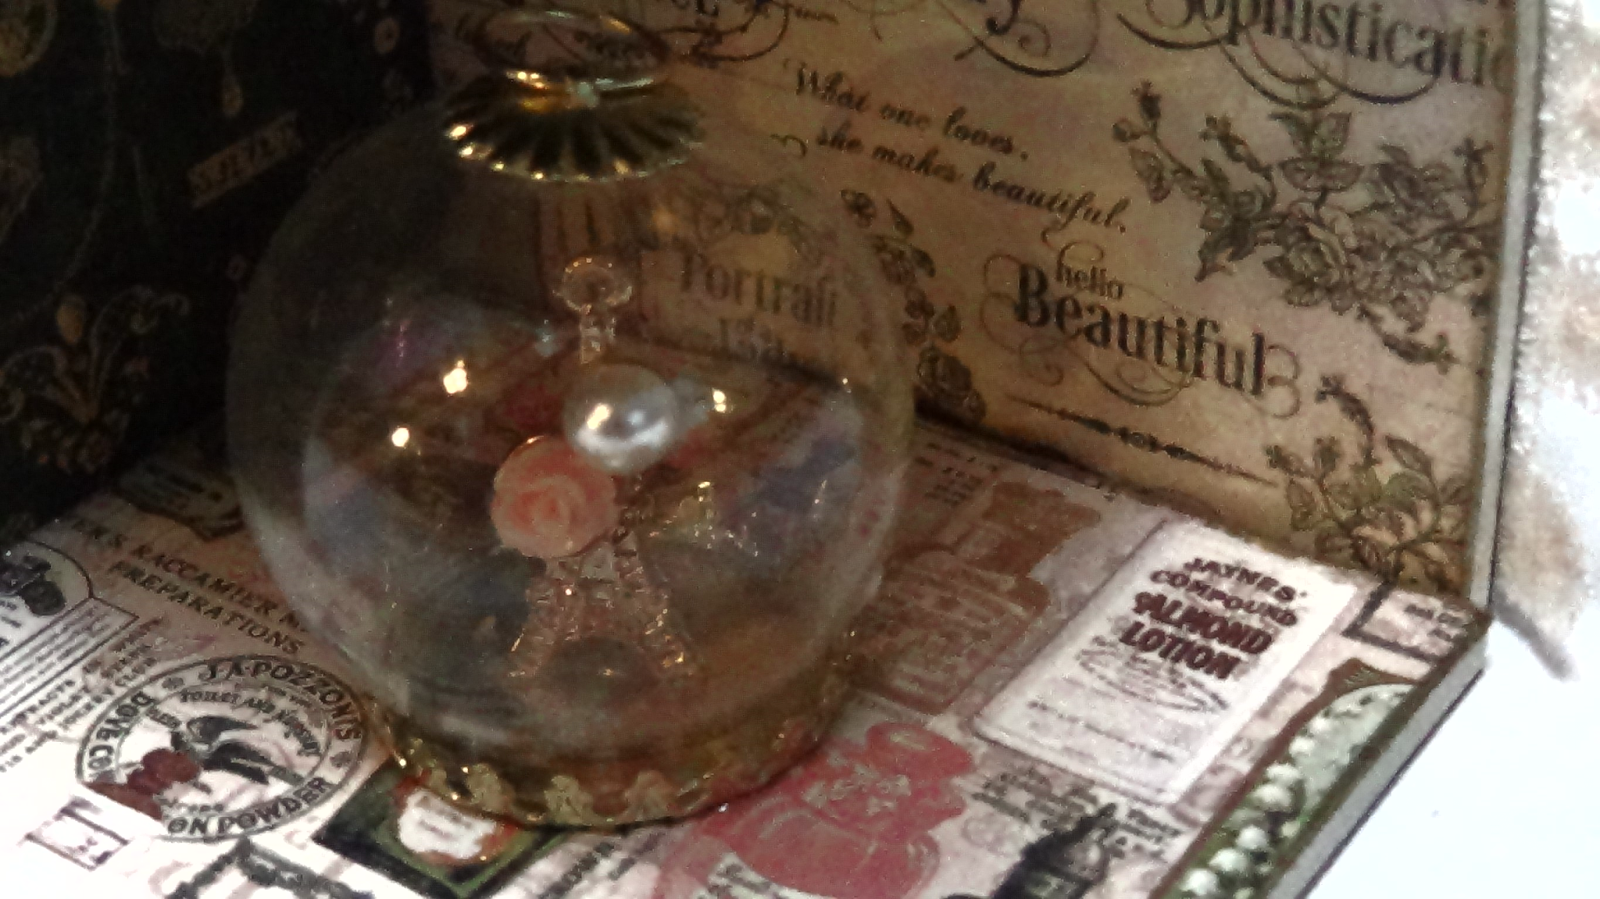
I had a frame in my stash from Michaels $1 spot, Its original color was silver. I painted a couple of layers of white gesso on it then used both Tim Holtz Distress Paints that I purchased at Tuesday morning and Tim Holtz Distress Inks. I then added some beautiful black ruffle trim I had bought from  MsGardengrove on Etsy. I used black chinese braided trim on the back part.  Then used some beautiful flower buds I had recieved in a kit from FlairByMe. On the inside I had this gorgeous tissue paper that I had in my stash that someone had sent me. I can't recall who sent it though. I decoupaged it onto the inside of the box. Then went over the edges with the same distress ink as I used on the outside.
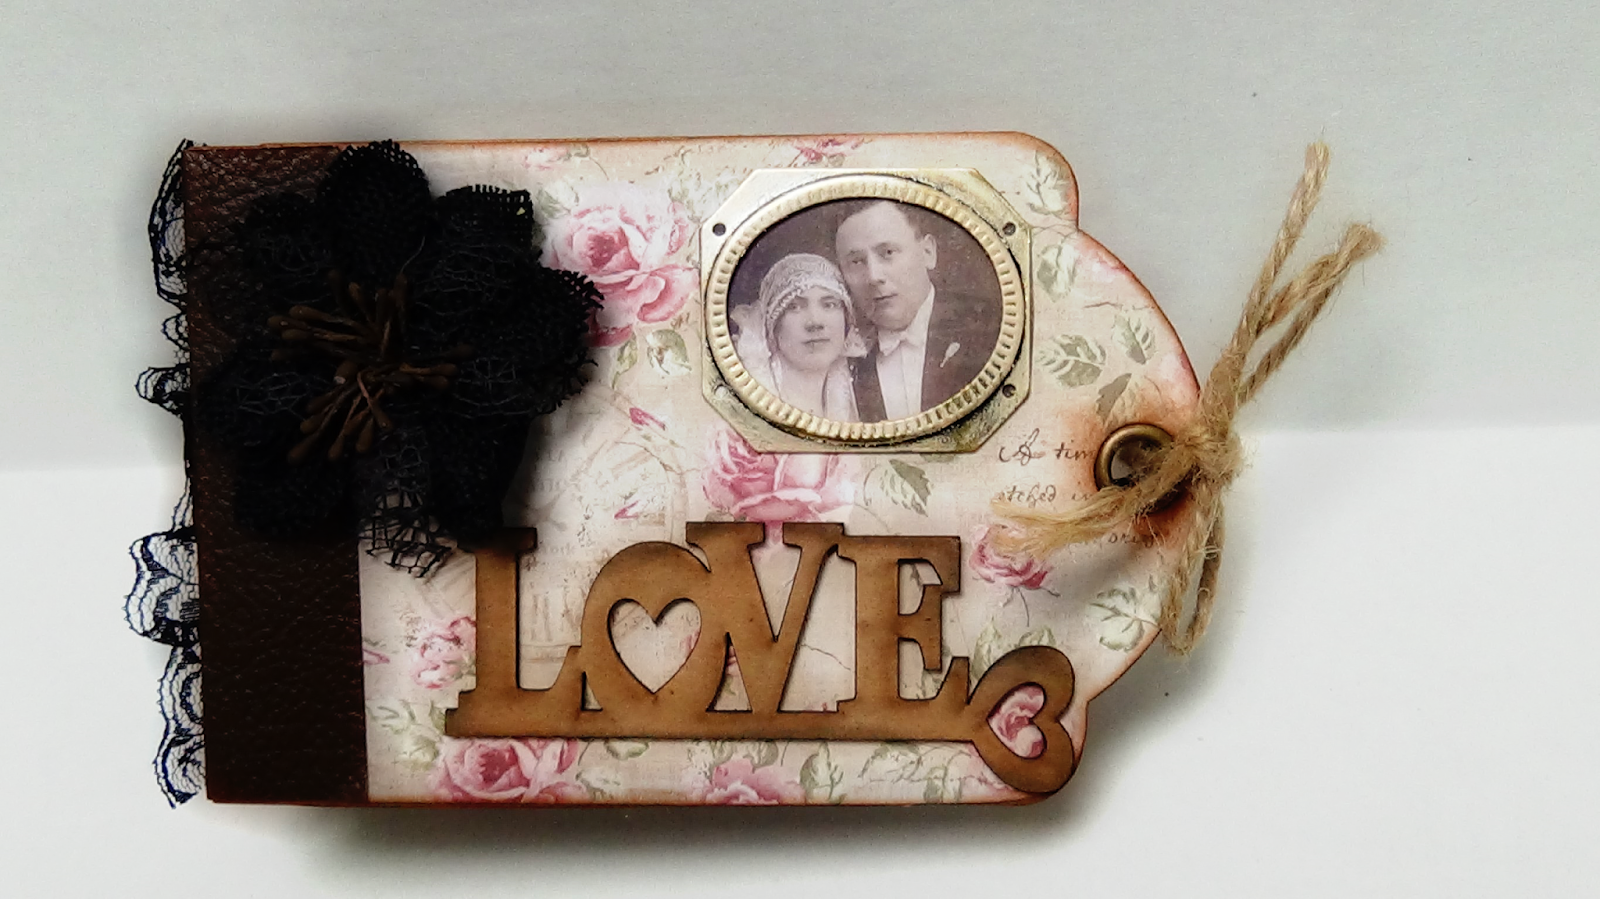


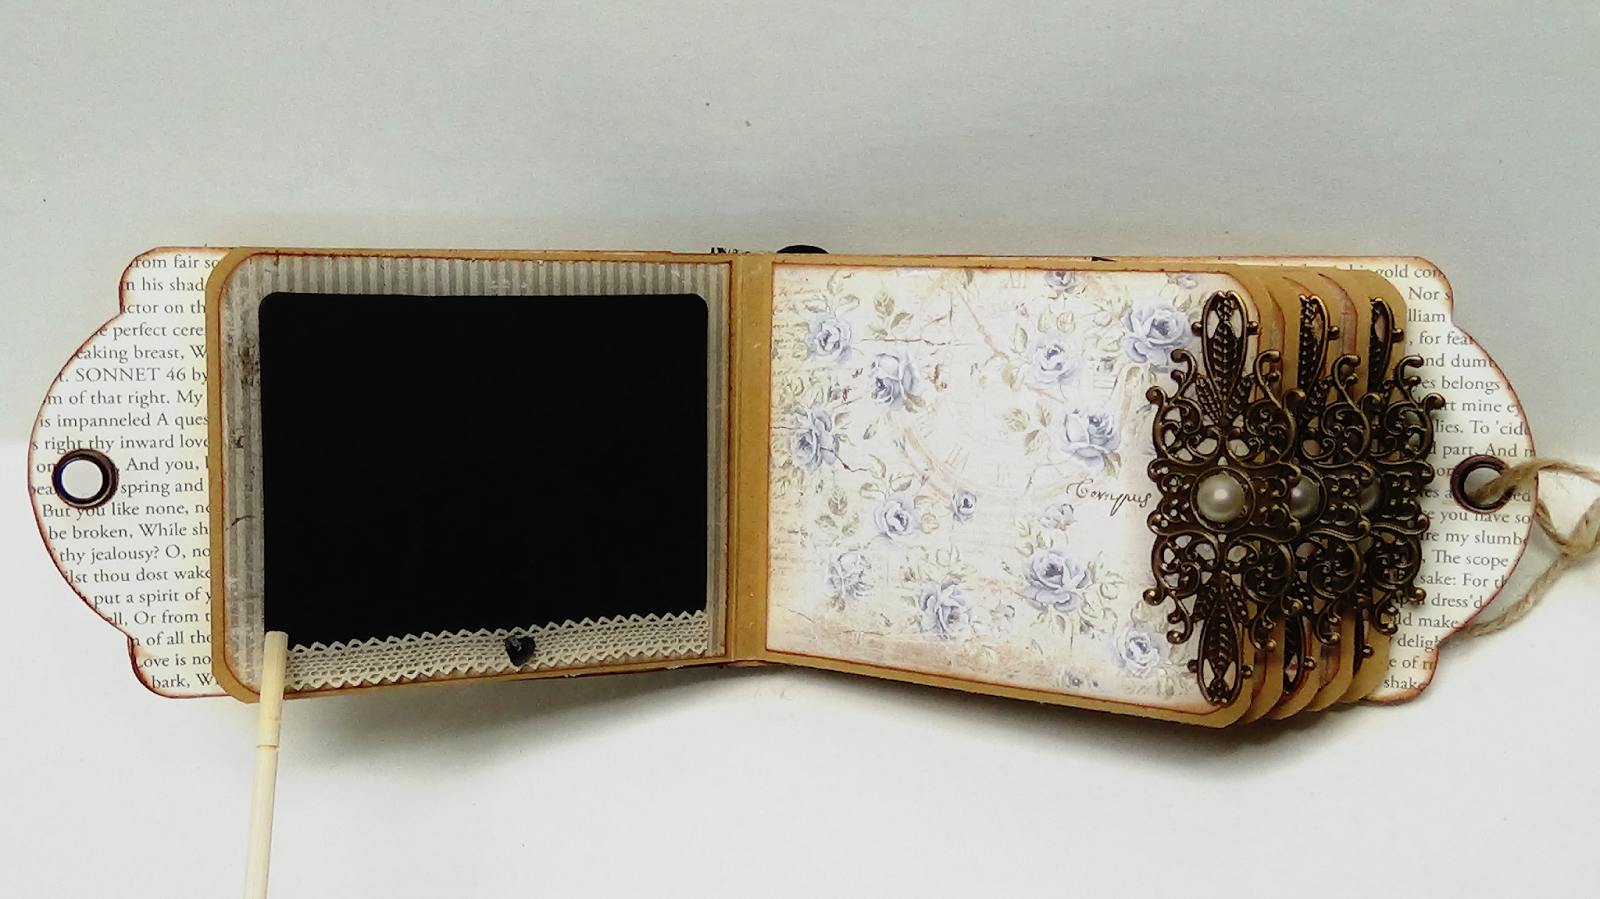
 I had previously seen a tutorial on YouTube that Ginger Ropp who is My Sisters Scrapper on YT had done. It was so easy to follow and then I just added my special embellishing. I had used kraft colored cardstock as my base. I used my We R Memories Keeper corner rounder for the paper and photo mats as well. Used some Distress Ink in Tea Stain color around the edges. I added laces to some of the pages from MsGardengrove . I embellished it with some metal filagrees on the edge of the pages, accented with a flatback pearl, among other embellishments. I added some of the same black ruffle trim to the spine of the album on top of the faux leather paper from Prima. Lastly I used a beautfiul vintage image for the cover. A chipboard sentiment that I only went over with distress ink on the edges & used a Petaloo black burlap flower . 


Monday, July 17, 2017

Shabby Chic Vintage Parisian Mini Album

Hi crafty friends!! I'm super excited to share this next project with you all! I made this as a GDT for the online shop Crafty City, Archana Joshi is the owner as well as the owner of Secret Garden on Facebook where she is one of the US sellers of WOC flowers! The paper I used on this project is from Maja Design
"Sofiero" collection. Its beautiful!! I also used some papers, tags from the Pion Designs "Paris FleaMarket" ! They went so well together. 

I began by painting of Frank Garcia's Memory Hardware prefabricated chipboard mini albums, I painted it with FolkArt Vintage White . I then papered it, made pockets with the papers as well as a couple of waterfall folios for some of the photo mats. This def. has lots of room for photos. I hope that you like what I've made and check out papers and much more at CraftyCity and Archana also sells paper collections at one of her facebook groups Shabby Papers Hub. Thanks for checking out my post and my blog!! xoxo, Jeanne


Sunday, July 16, 2017

Getting caught up!!

I'm still trying to catch up on all these projects! Omgosh, its overwhelming. I'm never gonna let myself fall this far behind again! 😂 Anyhow I'm really trying to make my posts smaller so I can post 2 projects per post. Wish me luck! 💖

This next project is my final GDT project for SaCrafters for the month of May! I made this Police Call Box in a Steampunk theme! I painted it with Folk Art Black Acrylic Paint and then on the inside and parts of the outer side I brushed on some Prima Bloom Spray "Vintage Coal", I liked this color because it gives off a metallic dark green effect. This would match perfectly with the Steampunk Debutante paper from Graphic45. I adhered it to sections of the call box then cut off the excess paper. I embellished it using a ring holder that is in the shape of a high heel shoe. It's a blue/green color with black lace on top. I decided I would use that since I just had it as decor on my dresser. 

I also used many other embellishments thoughout the inside of this Police Call Box. For a more detailed feature of this project , please click on my YouTube video to view it. I am trying to keep my posts shorter so its easier if I've made a video about it. Thanks you for stopping in! xoxo, Jeanne 


                                    Shabby Chic Wall Hanging

This project was made by me using the 1st kit I purchased from MsGardengrove on Etsy. Annie is the owner and she's got a group on Facebook where she sells montly kits. I immediately began making it as soon as it arrived in the mail! There was alot of beautiful trim and laces to work with but I think less is more so I didn't use every single piece of lace that came in it and used some of from my stash. Here is the link to the fb group incase you would like to join up. There is a waiting list usually so once there is a spot open on the permanant list Annie will message you to inquire if you would still like to be on the permanant list. I hope you like this, I made it for my mom to put up in her room!! 


Catching up on Projects (Continued)

I'm back again trying to catch up on posting projects that I've made since my last post in April that I made an Easter Loaded Envelope for a swap! I've been posting mainly on my Facebook, Pinterest and Instagram pages. I try to post on Twitter and on my Facebook craft page. I do tend to get overwhelmed trying to post on all of them. I enjoy having all of those platforms, its just difficult at times, even more so if I'm not feeling to well. 
Anyhow this next project is another project for SaCrafters & is a GDT project for Secret Garden on Facebook /Craftycity.com, its a simple, easy to make alarm clock shadow box. 


I painted it using Folk Art Black Acrylic Paint, then traced sections of what I could onto the beautiful paper from Prima Stationers Desk, one of my favorites! Then adhered the paper with FabriTac Adhesive. I then inked the edges using Black Soot Distress Ink from Tim Holtz, to kind of blend the papers in with the painted surface. I then began embellishing using the beautiful WOC flowers from the facebook shop Secret Garden, a chipboard ink pen from Frank Garcia's Archivist collection, one of Prima's Amiens Antique Cloches. I had this gorgeous Eiffel Tower charm from my stash. I finished it off with beautiful ruffle pearl black trim from MsGardenGrove's shop on Etsy and a metal embellishment on the back part of the clock . I used some DecoArt Lustre Wax in Champagne Ice. I hope that you will try one of these, they make wonderful gifts, as well as decor like I will be using it in my craft room. xoxo, Jeanne 


Saturday, July 15, 2017

Catching up on projects!!

Hey crafty friends! I'm here to share the projects that I have fallen behind on posting here. I find it so hard trying to maintain a blog but my love for crafting and trying to get my work to get recognized is the reason I really try! It's so much easier to keep up on my other social media sites but this is important to have as well! So I'm hoping that I can post everything in order that I have created till this day! I'm also trying to research how to make my blog to look beautiful but also cleaner, just not too plain. So wish me luck and enjoy my project shares!! *NOTE: I will try posting 2 projects per post so that they aren't too long , xoxo

For the month of May I was lucky enough to have been a Guest Designer for SaCrafters. Love working with the great products that you get to put together and use your imagination and creativity for the finishing touches. I enjoyed making these projects to add as beautiful decor for my craft room. The 1st project that I made was a Wood fancy box. I painted the edges with Vintage White Acrylic Paint and then used Prima Tales of You & Me to paper the entire piece. I distressed the edges just a little then used Vintage Photo Distress Ink along the edges as well. On the top, I changed up the piece that attaches on front, I glued it on to the back so that I would be able to use the top to put some cute embellishments. I settled on something simple and added a cute Recollections frame with a beautiful image. I finished the top off with some beautiful paper rose buds wrapped in a ribbon. I added lace on the inside on the windows, along with a smal I love how this turned out!! xoxo


Here is my 2nd project that I made for SaCrafters. I knew I wanted this beautiful dressform to be very feminine and romantic in a sense. I picked paper from Graphic45 "Portrait of A Lady" , absolutely gorgeous paper. I adhered it to the pieces, then adhered it all the pieces together , distressed the edges a little with ink. Added a beautiful applique on the front part of the dressform followed beautiful bling from Prima and also added delicate ivory trim and flat back pearls around the front of the dressform. On the small shelves on the back side of the dressform I added a variety of embellishents, for example, charms from a braclet that I picked apart, Prima Rosegold flowers, a doily, tiny resin frame, an adorable round dome with a charm of the Eifel Tower inside, a cameo, and a bling crown. This is such a beautiful piece! I love making the different projects that will be added decor to my craft area! I hope u like what I've done and feel inspired to try one yourself. Thank U! xoxo, Jeanne


Thursday, May 25, 2017

I'm back

Good evening crafty friends!! I know its been a little bit since I've been on here posting anything. I apologize for that but I kind of got a little discouraged because I don't have too much traffic here on my blog. I enjoy posting on here and so even if I just post for myself , I will feel good about doing that! Even though I have only been craftying for 3yrs, this has really changed my life! This is also serving as a journal for me , where I can post my crafty journey! 
I hope if u come across my blog that u will subscribe, follow me. I also have other social media sites where u can find me!! Hope u will check it out!! Hugs, Jeanne xoxoxo

My social media sites: Pinterest
                                     YouTube
                                     Facebook(crafty page)
                                     Facebook(personal page)
                                     Instagram
                                     Twitter
                                    Snapguide