Showing posts with label TimHoltz. Show all posts

Wednesday, August 16, 2017

1st Design Team Project for Secret Garden Crafts

Hello crafty friends!! Today I am super excited to share with you my 1st Design Team Project for Secret Garden Crafts . This is a new online store that Archana Joshi owns. She still has her facebook groups available where you can order, she has just combined Secret Garden Crafts with  CraftyCity . But I am excited to be a part of her 1st Design Team for this new shop where some beautiful flowers are sold, everything from Wild Orchid Craft, Prima, just to name a couple. All of our projects are pretty similar as far as themes go, this 1st week our projects are tags. I had a great time with this tag because I had just received a destash purchase from a friend and she had included some tags from Heidi Swapp, a variety of tags, different shapes, etc. This is mine, I hope that you like it!! 
I began by tracing one of the Heidi swap tags onto chipboard just so it would be sturdy. Plus I can reuse those tags for many more projects to come. I then chose the beautiful papers I had gotten in my destash purchase as well, so this package came just in time for this project. One of the papers was the "Order" paper sheet Item #0148. I adhered the paper directly to the tag using Double sided score tape. I then fussy cut the tag out. After I did this I then used my Prima distress tool to somewhat blend in the paper and the tag and this distressed the edges a little as well. 
After I was finished with that I applied some DecoArt Dimensional Paste to stencil the background. I had already picked out my embellishments that I planned on using. I had a Prima Shabby Chic Fireplace Resin piece in my stash I adhered a Tim Holtz Ornate frame that I dabbed some DecoArt Gesso onto. I used E6000 to adhere the Ornate frame to the Fireplace as well as the entire piece to the tag. I then added a small piece of beautiful Venice white lace along the bottom of the fireplace.


I then added some pink sprays I had in my stash as well as a clear acrylic flower and clear acrylic sprays. I then added some of the most beautiful Wild Orchid Craft flowers that I received in my DT package. I finished it off by adding some Prima Crystals from the Heaven Sent Collection. They went very well with the color combination of this tag. 
I hope that you will take a look at this wonderful online store Secret Garden Crafts . I will list below the rest of the social media sites for Secret Garden Crafts, as well as a list of the flowers I used for this project. Thank you for checking out my blog and I hope you are inspired to make your own style of tag and you will use some of these wonderful flowers. 


You can find the rest of the links to the other Designers on the Secret Garden Crafts Blog! I hope you will go subscribe, follow, etc these other talented ladies!! XOXO, JEANNE

Tuesday, July 18, 2017

Vintage Keepsake Book Box & Tag Mini Album

Whhewwww! I'm finally getting there! Almost caught up! I'm so excited to share this project with you all!! This is another GDT project for Shabby Papers Hub, Craftycity & Secret Garden. I had purchsed a couple of paper mache book boxes from Michaels craft store. I originally had thought of making a book stack but then changed my mind . I got the idea to make a tag mini album to go on the inside. 

I first went over the edges with gesso, I picked out the paper that Archana sent me. Its a beautiful vintage paper collection. I measured and then ahered the paper to the box using FabriTac . I distressed the edges using Tim Holtz Vintage Photo Ink. I also stamped randomly using a brick wall stamp from Prima Marketing. 


I had a frame in my stash from Michaels $1 spot, Its original color was silver. I painted a couple of layers of white gesso on it then used both Tim Holtz Distress Paints that I purchased at Tuesday morning and Tim Holtz Distress Inks. I then added some beautiful black ruffle trim I had bought from  MsGardengrove on Etsy. I used black chinese braided trim on the back part.  Then used some beautiful flower buds I had recieved in a kit from FlairByMe. On the inside I had this gorgeous tissue paper that I had in my stash that someone had sent me. I can't recall who sent it though. I decoupaged it onto the inside of the box. Then went over the edges with the same distress ink as I used on the outside.


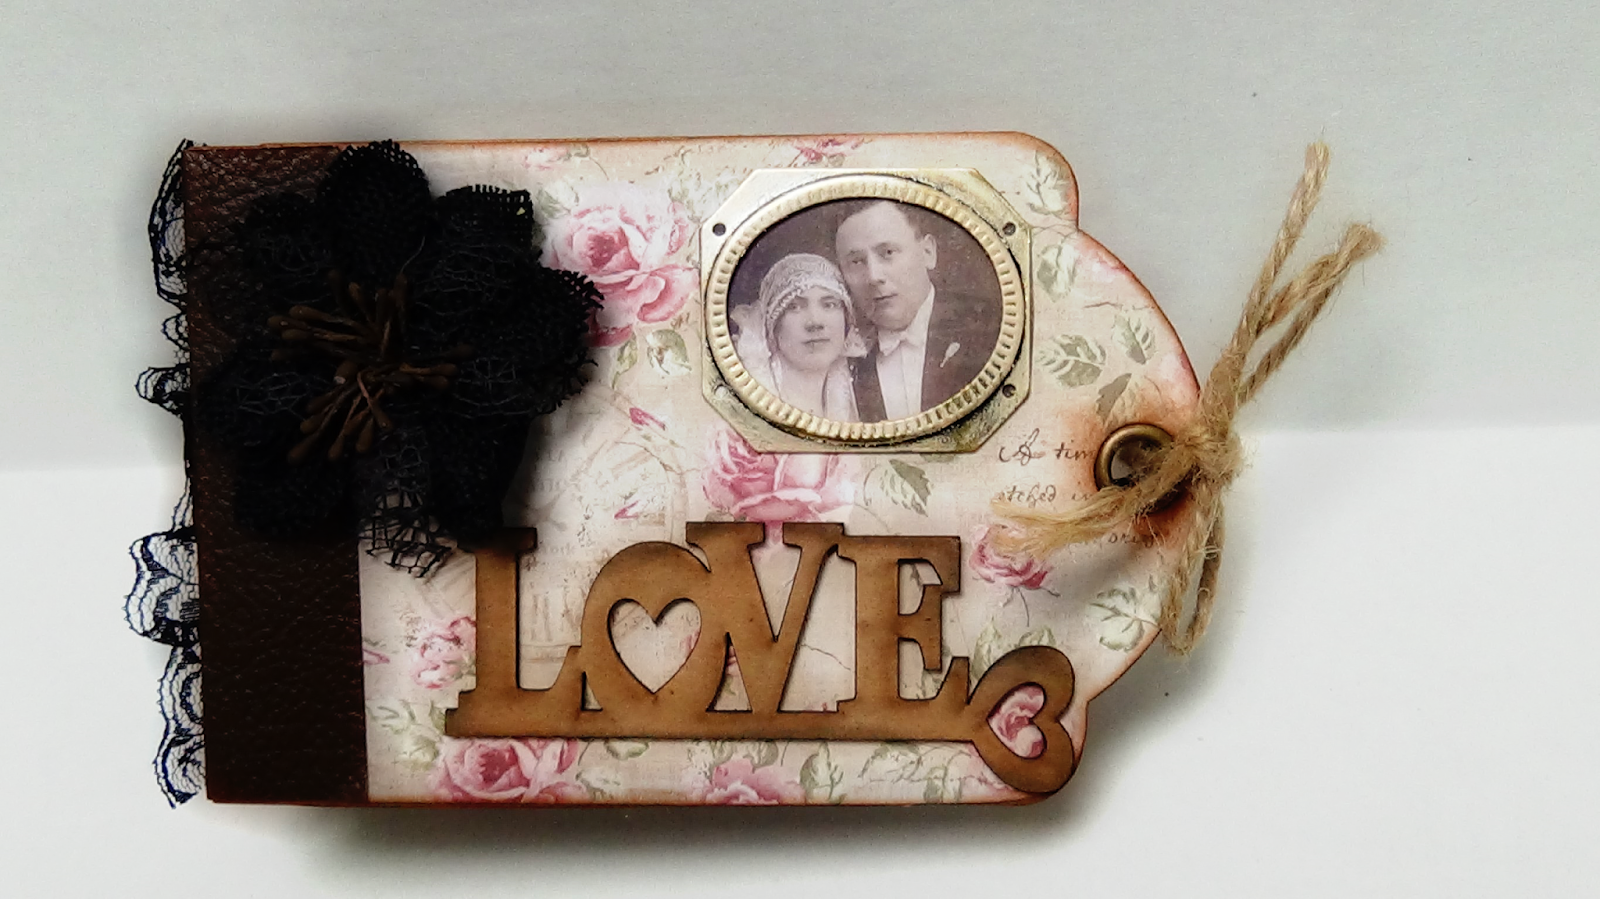
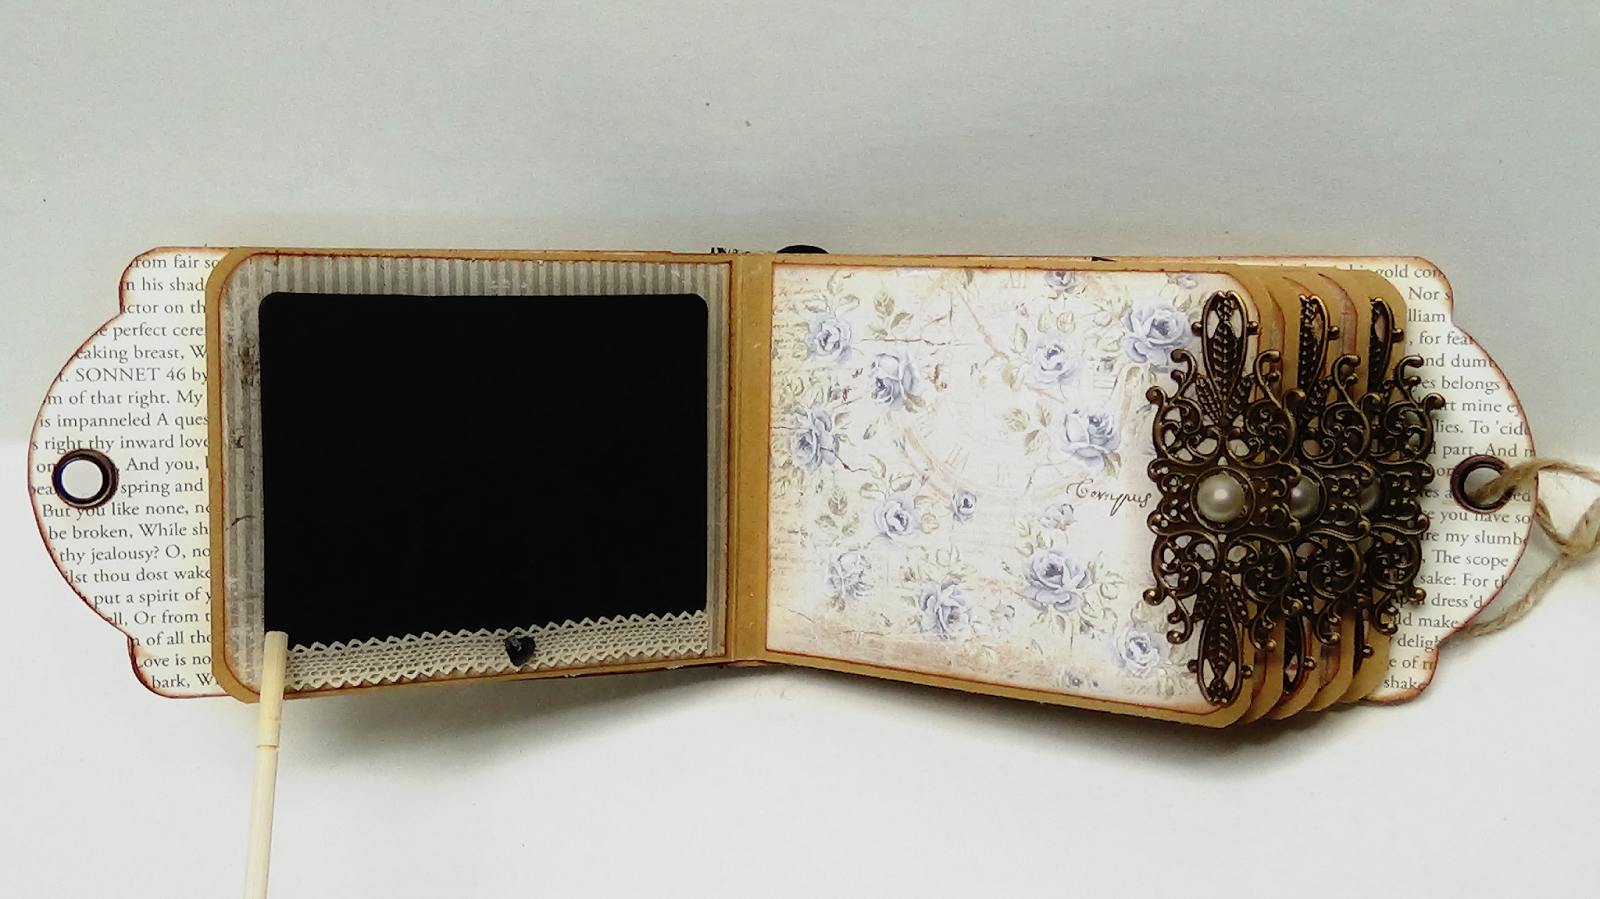
 I had previously seen a tutorial on YouTube that Ginger Ropp who is My Sisters Scrapper on YT had done. It was so easy to follow and then I just added my special embellishing. I had used kraft colored cardstock as my base. I used my We R Memories Keeper corner rounder for the paper and photo mats as well. Used some Distress Ink in Tea Stain color around the edges. I added laces to some of the pages from MsGardengrove . I embellished it with some metal filagrees on the edge of the pages, accented with a flatback pearl, among other embellishments. I added some of the same black ruffle trim to the spine of the album on top of the faux leather paper from Prima. Lastly I used a beautfiul vintage image for the cover. A chipboard sentiment that I only went over with distress ink on the edges & used a Petaloo black burlap flower . 


Sunday, July 16, 2017

Catching up on Projects (Continued)

I'm back again trying to catch up on posting projects that I've made since my last post in April that I made an Easter Loaded Envelope for a swap! I've been posting mainly on my Facebook, Pinterest and Instagram pages. I try to post on Twitter and on my Facebook craft page. I do tend to get overwhelmed trying to post on all of them. I enjoy having all of those platforms, its just difficult at times, even more so if I'm not feeling to well. 
Anyhow this next project is another project for SaCrafters & is a GDT project for Secret Garden on Facebook /Craftycity.com, its a simple, easy to make alarm clock shadow box. 


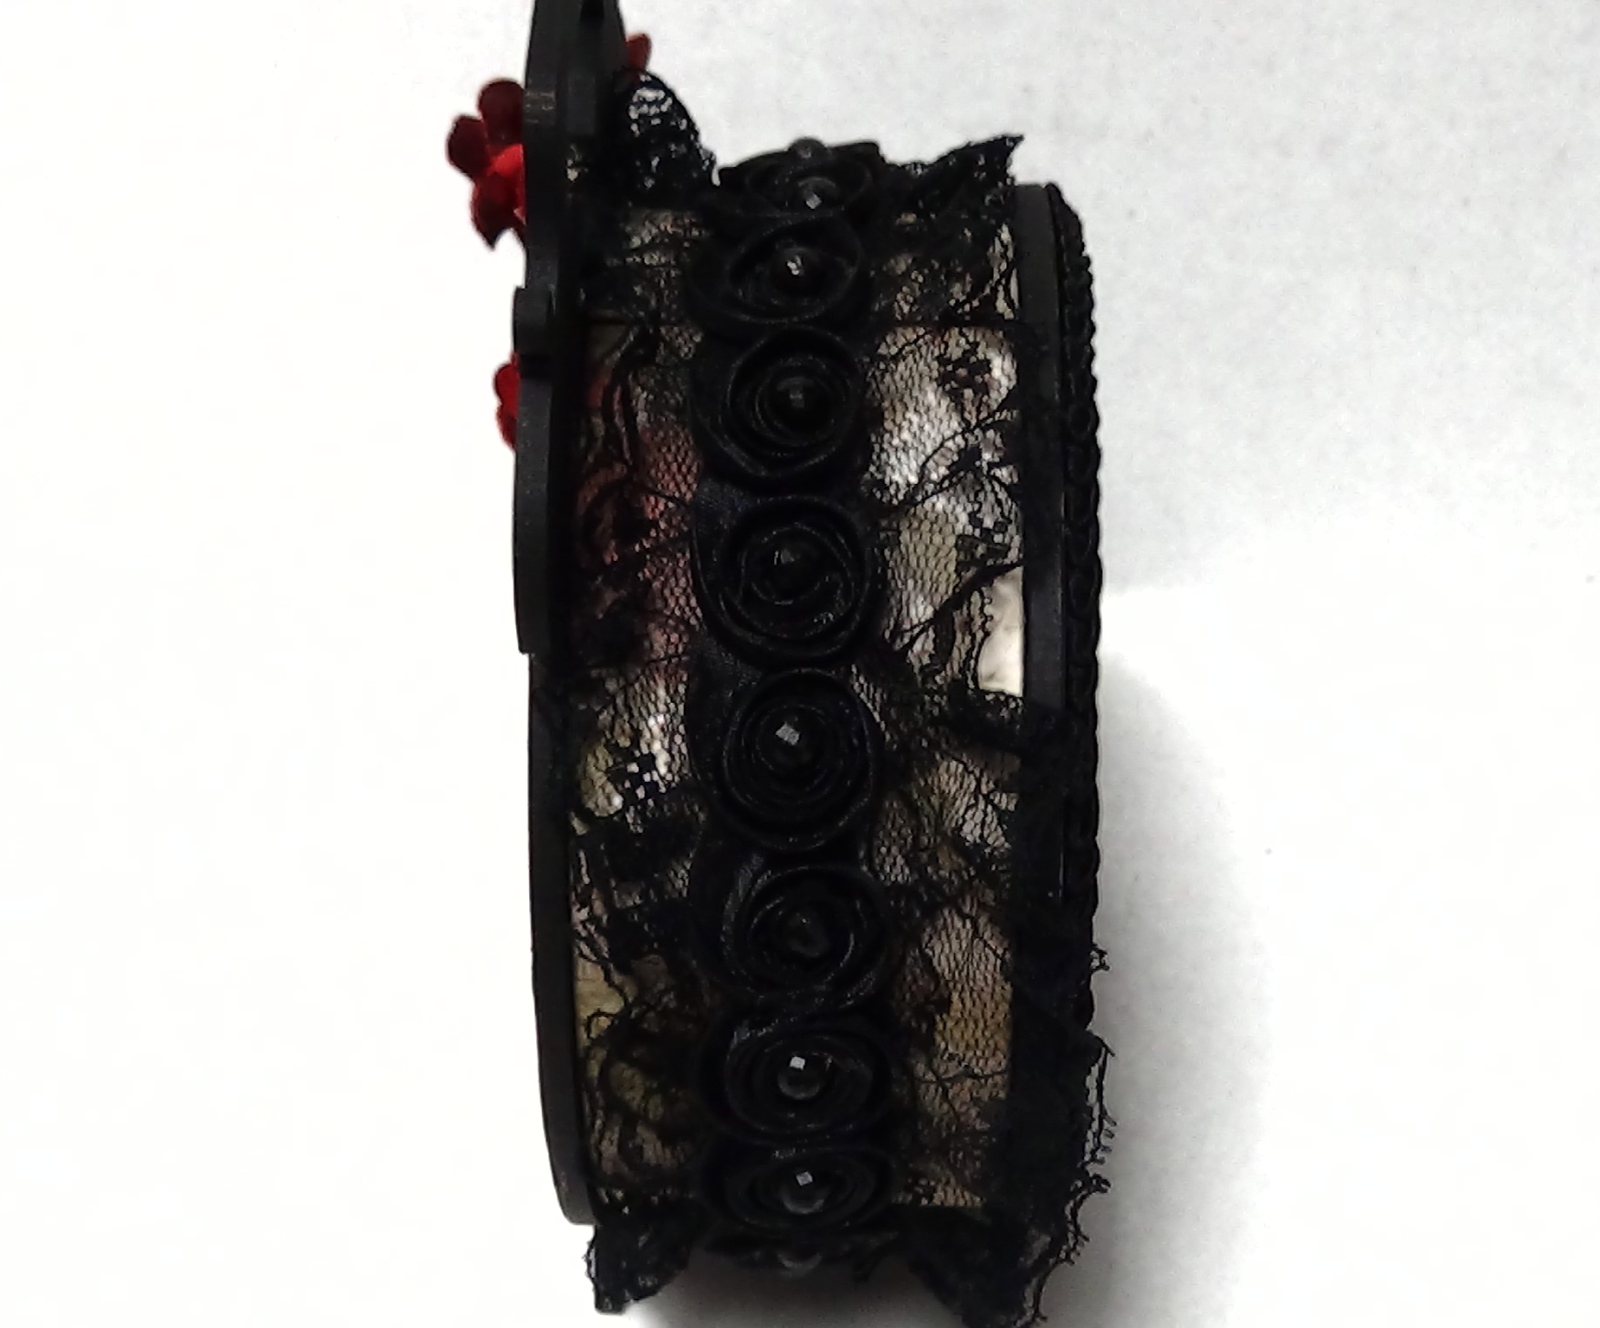
I painted it using Folk Art Black Acrylic Paint, then traced sections of what I could onto the beautiful paper from Prima Stationers Desk, one of my favorites! Then adhered the paper with FabriTac Adhesive. I then inked the edges using Black Soot Distress Ink from Tim Holtz, to kind of blend the papers in with the painted surface. I then began embellishing using the beautiful WOC flowers from the facebook shop Secret Garden, a chipboard ink pen from Frank Garcia's Archivist collection, one of Prima's Amiens Antique Cloches. I had this gorgeous Eiffel Tower charm from my stash. I finished it off with beautiful ruffle pearl black trim from MsGardenGrove's shop on Etsy and a metal embellishment on the back part of the clock . I used some DecoArt Lustre Wax in Champagne Ice. I hope that you will try one of these, they make wonderful gifts, as well as decor like I will be using it in my craft room. xoxo, Jeanne