Wednesday, November 29, 2023

"Breathe and Be Yourself" Scrapbook Layout

 Hello once again Crafty Friends! Jeanne back here on the Clear Scraps Blog to share with you what I have created using a couple of the products from Clear Scraps

This month I have decided to create a Scrapbook Layout featuring my eldest Grandson Josiah! He is already 14, I can't believe time flies by so quickly and so since he's such a "grown up" already, I figured trying to create this layout more masculine than cutesy! 

Even though it is not Christmas yet but it has been very cold and has already snowed where my grandson lives. So I decided on a layout with snowflakes, snow balls, wood pieces, and more. So check out how I created this layout and I hope I can inspire you even if its just a little sprinkle! 


I began by selecting what products I would use for this project, I had this beautiful stencil from Clear Scraps, the 6" Holly Christmas Bulb Stencil (Product Code: CSSMHXMASBULBS6) . Next I looked thru my winter paper collections and I decided on the 3 Quarter Designs " Christmas Wonderland" collection which is absolutely gorgeous!


I chose the pattern paper I selected from the collection, I cut 1/2 in. off of each side. Then using the Prima Marketing Distress tool, I distressed all of the edges of the paper. Next I took some of the Lindy's Stamp gang Magicals powder " Bavarian Blue", added a little water and brushed that along the edges.


I then took a black sheet of 12x12 inch chipboard for my base, I adhered my pattern paper using some double sided tape. Next I went over my pattern paper with some Finnabair Art Basics Clear Gesso just incase I would be using mediums on my page. I usually create as I go, I don't preplan what I'll be creating. 
Next it is time for using the beautiful Holly Christmas Bulb stencil from Clear Scraps, I chose from Deco Art Media Crackle Paint and mixed in one of the Mica Powders from Finnabair Art Ingredients Pearls and Crystals package. I used the Crackle Paint from Deco Art just for more added dimension.


Since the stencil is 6 inches I stenciled half of the top page then the next half. Then I went over it with my heat tool, which didn't take long because this Crackle Paint dries super fast. I love the crackle in the snow flakes!


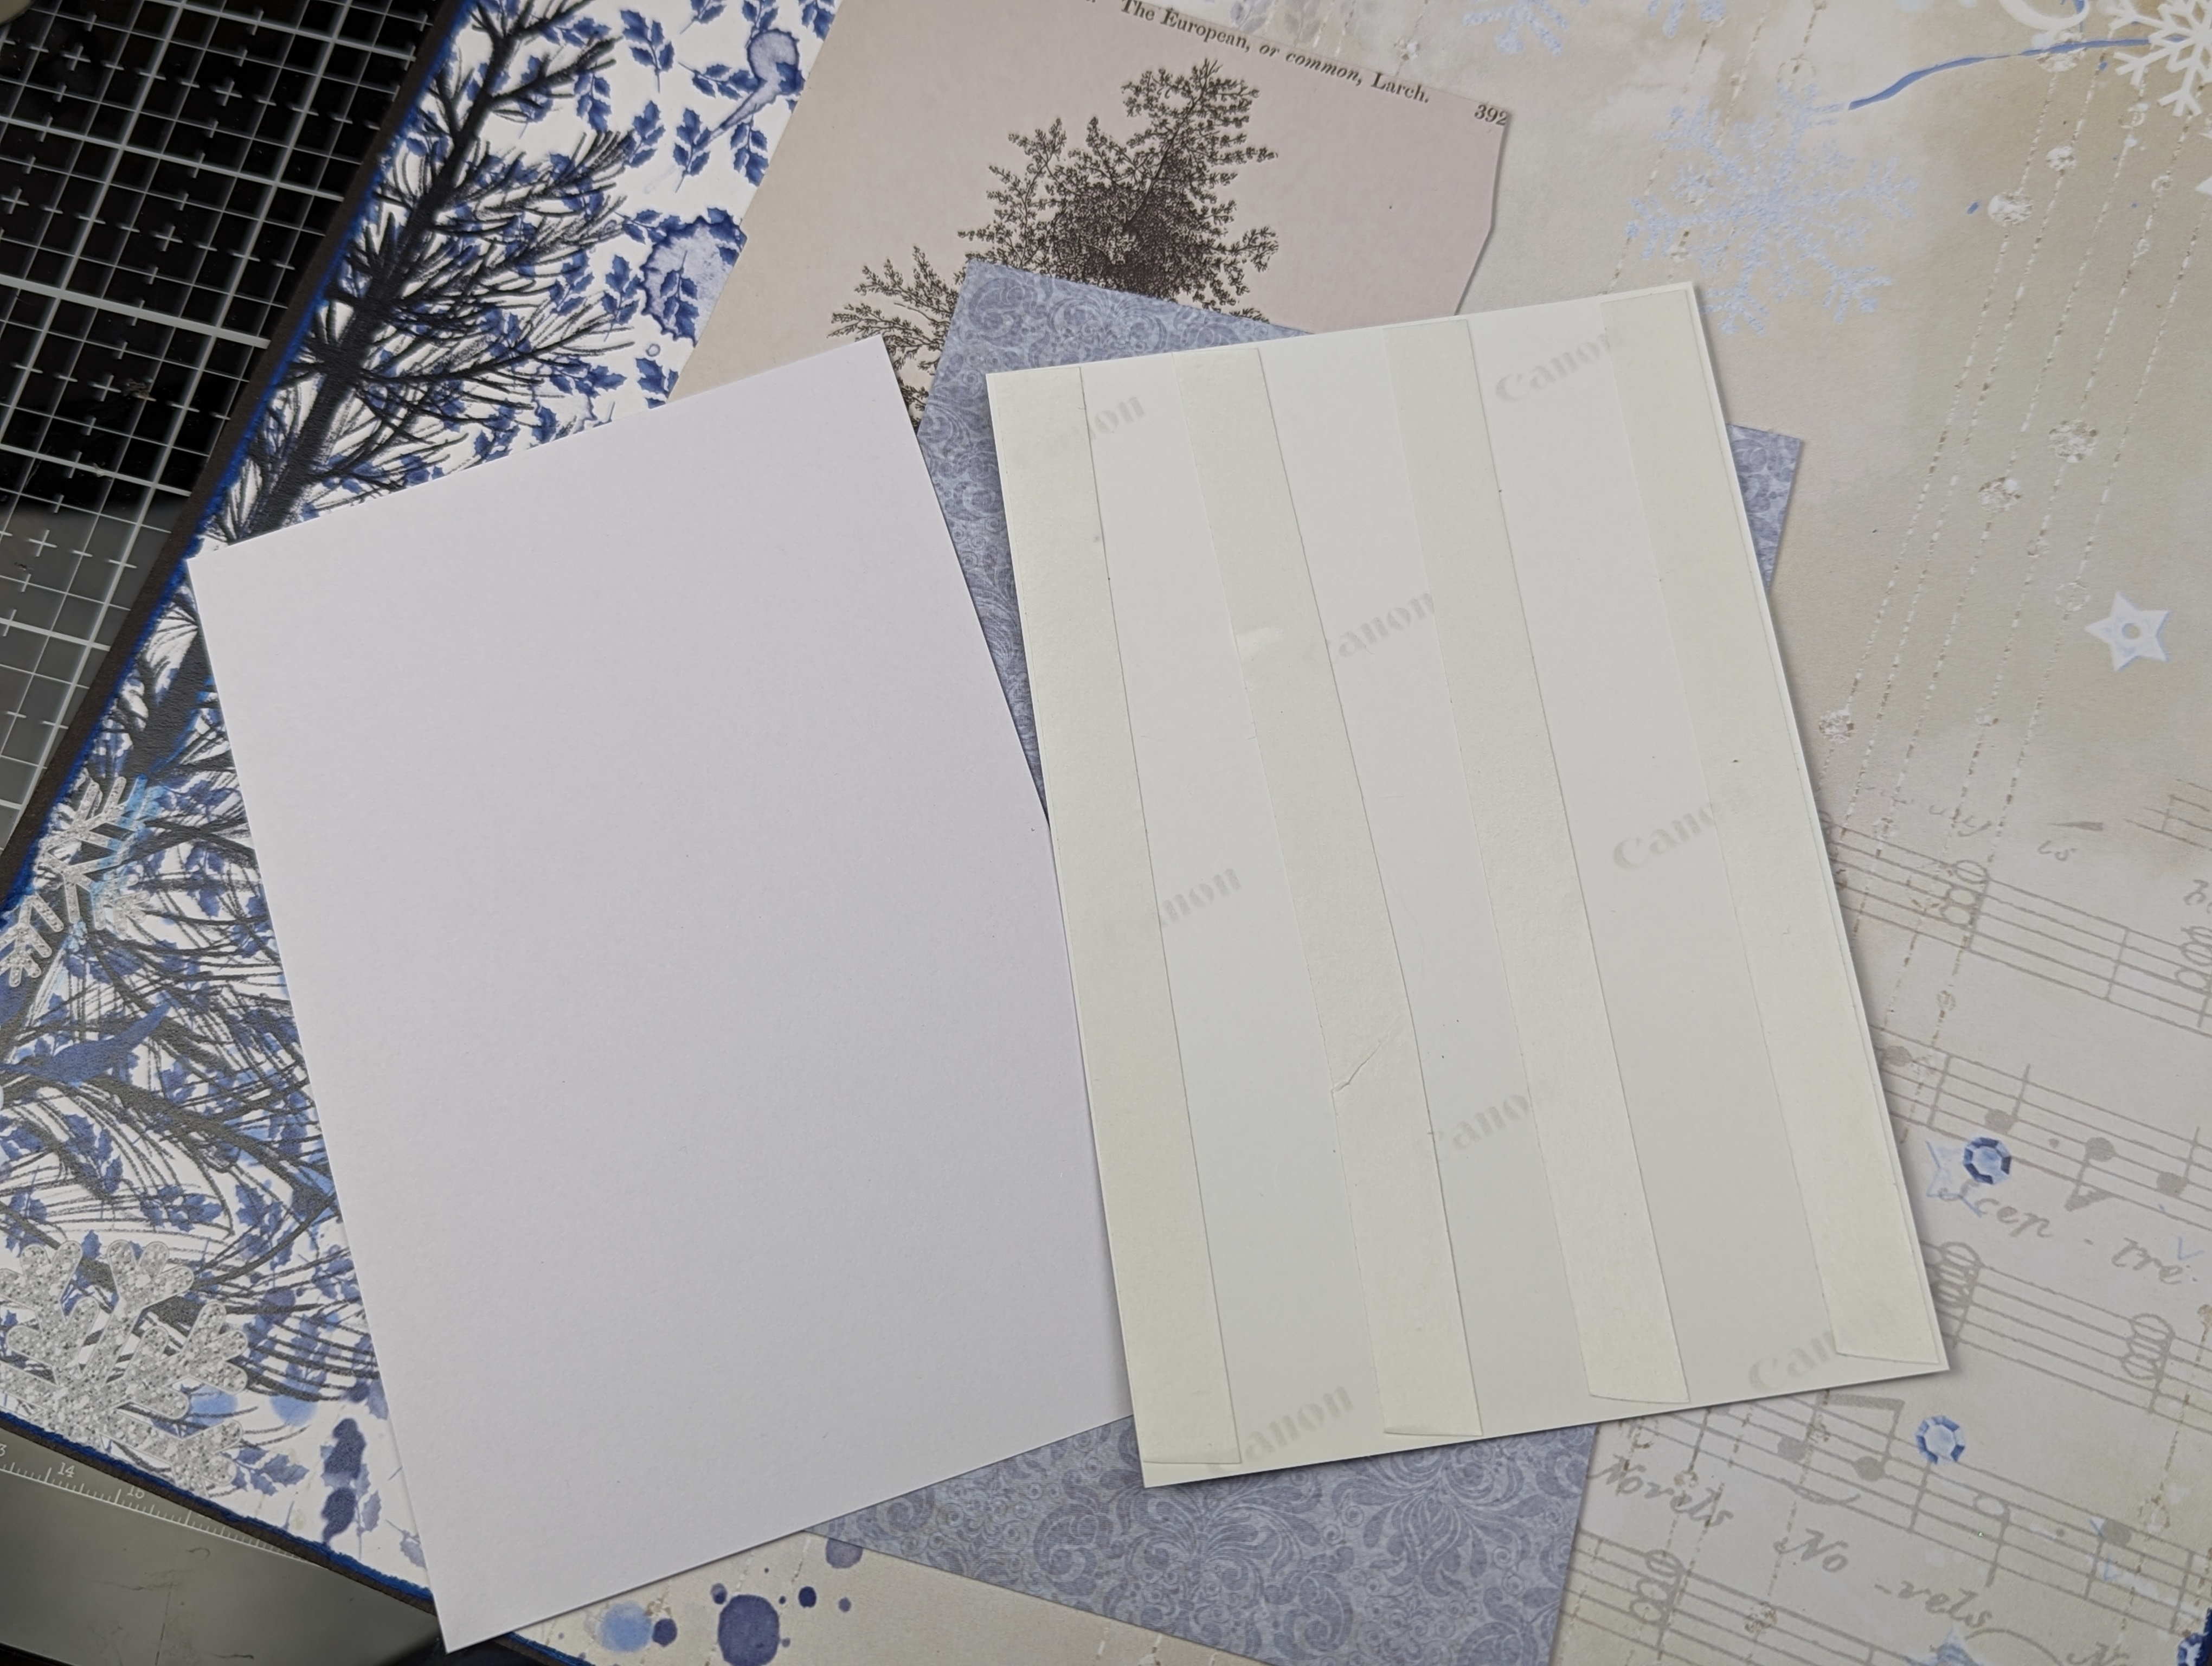
Next I added the photo of my grandson onto some pattern paper and also some dark blue textured paper cardstock from American Crafts. I used double sided tape to adhere the photo onto these, then on the cardstock I used double sided foam tape and adhered my photo onto the layout. Next I began positioning my embellishments such as some of the ephemera and flowers from the paper collection. 
I used the Prima Marketing Distress Tool and some Tim Holtz Vintage Photo Distress Ink. 
I also used some Fabulous Fibers (Peacock) from Brutus Monroe around the flowers I would be using on this layout. I used paper flowers from the paper collection as well as flowers from 49 & Market and Prima Marketing.


The next thing I did with the chipboard mistletoe pieces from Clear Scraps is I used some Wax Lyrical from Pink Ink Designs on the leaves of the mistletoe. Next I used some Cerantica Wax from Stamperia on the berries of the mistletoe. I adhered them with some foam dots. I also used foam dots and foam tape to adhered some of the paper ephemera and flowers.


Well Crafty Friends, I hope that you enjoyed this month's project and blog post for Clear Scraps! Until next time!! 
 
xoxo,


Monday, October 23, 2023

It's A Pink Christmas!

Hello again Crafty Friends!! Jeanne here back this month with my latest project for Clear Scraps! I know many of us are just getting used to Fall changes and getting ready for Halloween, but in my mind Christmas is my holiday and it's never too early for it! Especially a Pink Christmas! I have featured my darling grand daughters on this project and I'm excited to put this up with the rest of my Christmas displays.


I decided I wanted to work with the 3-D Frameables , the Base with Scallop Frame & Word N Shape Christmas Tree from Clear Scraps. I also picked out the paper collection that I would be using which is Prima Marketing Sugar Cookie. I began by tracing out the wooden base pieces, the scalloped frame and the Christmas Tree from the Word N Shape packet. Once I traced the base, I used my Tim Holtz Retractable Craft knife to cut the slot pieces out. I had actually painted the base using Folk Art Vintage White acrylic paint before I had decided on adding paper. Next I took my ink dauber and some Tim Holtz Distress Ink ( Spun Sugar) a nd went along the edges of them so they would stand out a little (This was my thought before I decided to add everything else) Next I adhered on the paper I cut using Art Glitter glue, any wet glue will work. 


Once the paper was on the base, I felt like it wasn't "finished", so I thought I'd add some Prima Marketing Dresden Daisy Gold Chain around the edges, also adding some trim around the frame, but before adhering it I used a small file around it to try to blend the edges of the paper to the frame for a much cleaner look. I like to have a "finished" look on my projects. I believe its my OCD that leads me to this but I'm fine with it because I believe every little detail counts. Now on the frame base, I traced, cut and adhered paper to it. I didn't use the gold trim on this so that the front facing frame stands out. 


So I have set the base and frame aside and began on the Word N Shape "Christmas and Christmas Tree". I painted the "Christmas" wooden piece using Folk Art "Ballet Pink" acrylic paint. Next using the Brutus Monroe clear embossing ink pad, I dabbed it along the painted piece then using Ultra Fine Gold Embossing Powder from Gary M. Burlin Co. I tried to not cover it completely because I wanted a "worn out" look to it but it didn't work too well but I'm still pleased with the finished piece. Like every crafter knows, there is no such thing as "Mistakes"!


On to the wood tree from the Words N Shape pieces. I papered one side of it as mentioned before and on the other side, I added some white gesso with a sponge brush. I then embossed it using the same Ultra Fine Gold embossing powder that I used on the "Christmas" piece. I next took some Ranger Liquid Pearls (White Opal and Ballerina) and added some dots on the tree. My hands were so shaky so they aren't the best but it will have to do.


Now back to my frame, I printed the photo of my granddaughters and adhered it onto some white cardstock using some double sided tape then adhering it to the frame base. I did use Art Glitter glue to adhere the front frame piece to the back piece. 
 
Next onto the embellishing part which gets exciting cuz I'm almost finished!! So place the frame and the Word N Shape into the slots on the base piece. I did add a little bit of Art Glitter Glue just for a little added reinforcement but I don't think you really should worry about them falling off because they are made for the perfect fit into the slots. 


I then began adding a variety of flowers from Prima Marketing and also adding some Fabulous Fibers   (Frosted Halo) from Brutus Monroe. I love the beautifully added element these give to your flowers. I picked a few pieces of ephemera from the "Sugar Cookie" Collection from Prima Marketing and adhered them around the project. Then I decided to add a little "Snow Flurries" to this so I took a brush with some Helmar Tacky Craft Glue and brushed it on the base surface and onto the "Christmas" piece and then sprinkling some of the snow onto it. I turned it over onto a paper to release the snow that didn't adhere. While it was still a little wet on parts I then added a little bit of "Diamond Dust" to this as well. Just for a little added sparkle!! 
On to my next step, I added a little bit of Finnabair Art Stones and some pearls around it too. For the finale I used some Lindys Stamp Gang Glitzy Magicals (Gleaming Gold) with some water and a splatter brush and gave it some more shimmer in which I love love love! My photos don't do it any justice but in person it is absolutely fabulous!! 


I truly do hope that you have enjoyed what I have created using the fabulous products from Clear Scraps!! I hope you will take a look at the new products that have been added to the website!! Also check out the rest of their social media sites below for more ideas and lots of inspiration!!
I will be back next month Crafty Friends with another fun project! I hope I have 
sprinkled a little inspiration your way! Till next time......

Hugs,


Clear Scraps Social Media


Supplies Used:
Clear Scraps 3-D Frameables Base with Scalloped Frame
Clear Scraps Word N Shapes Christmas Tree
Prima Marketing Sugar Cookie Collection
Art Glitter Glue
Prima Marketing Flowers
Tim Holtz Retractable Craft Knife
Tim Holtz Victorian Velvet Distress Ink/Dauber
Ranger Liquid Pearls (White Opal & Ballerina
Finnabair Art Stones (small)
Twinklets Diamond Dust
Folk Art Vintage White & Ballet Pink Acrylic Paint
Brutus Monroe Frosted Halo Fibers
Brutus Monroe Embossing Ink
Heat Gun
Paint Brushes & Sponge Brush
Water Spray Bottle
Lindy's Stamp Gang Gleaming Gold Glitzy Magicals
Gary M. Burlin Co. Ultra Fine Gold Embossing Powder
Prima Marketing Dresden Daisy Gold Chain
Pencil for Tracing Pattern Paper
Scissors
File
Buffalo Snow Flurries